Symbols and Labels
To adjust the settings of both symbols and labels in a map:
- Go to Map Layers and select the layer you wish to work with:
- Depending on the layer its properties window will display the different settings available.
For example, in a Node Layer:
1. Click on the Renderer tab to manage the color size and conditions of the node symbol:
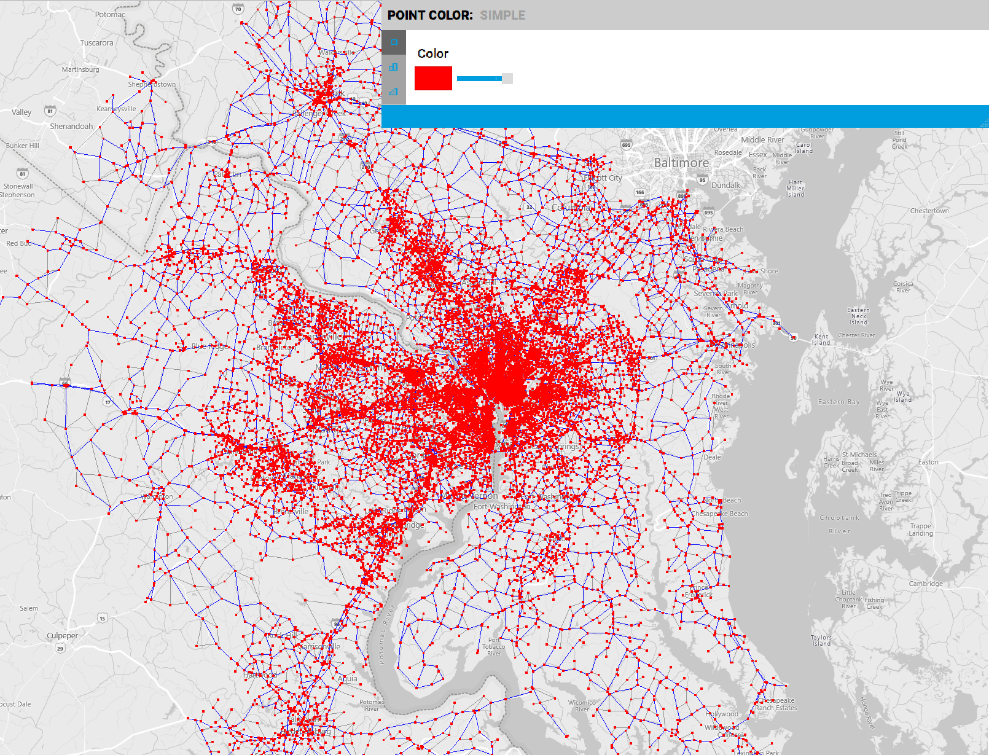
a. Right-click on the Color tab to select the Point color type and the color:
- Simple:
(Default) shows a colored point for all the nodes that meet a certain
condition
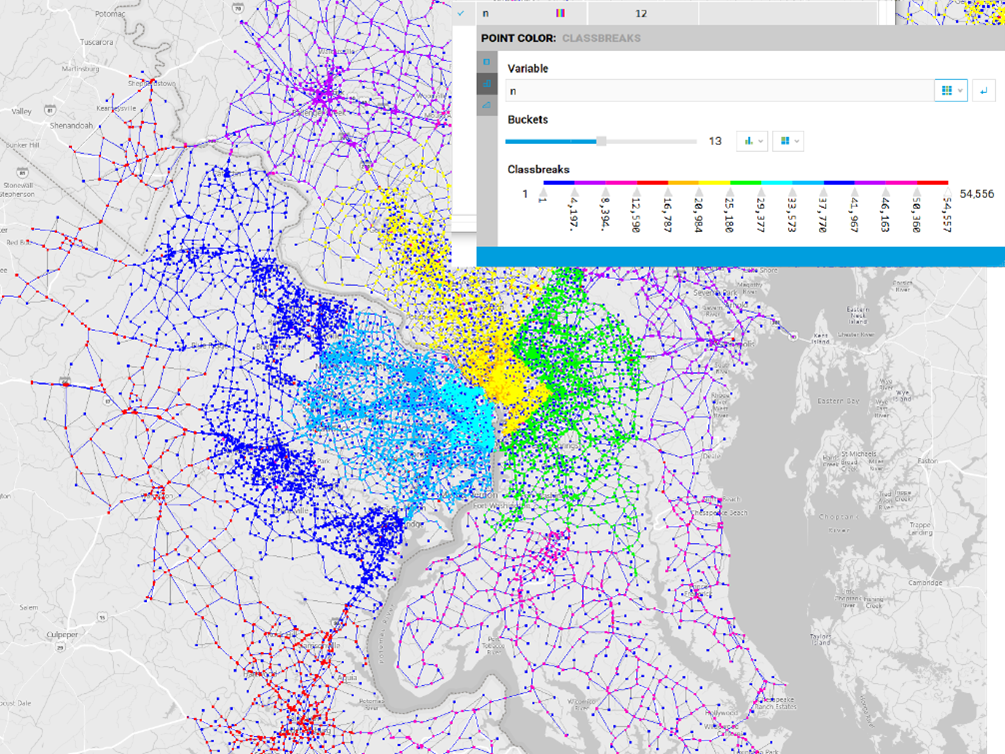
-
Classbreaks: Shows the variable specified in different colors
depending on the number of buckets and the classbreaks selected.
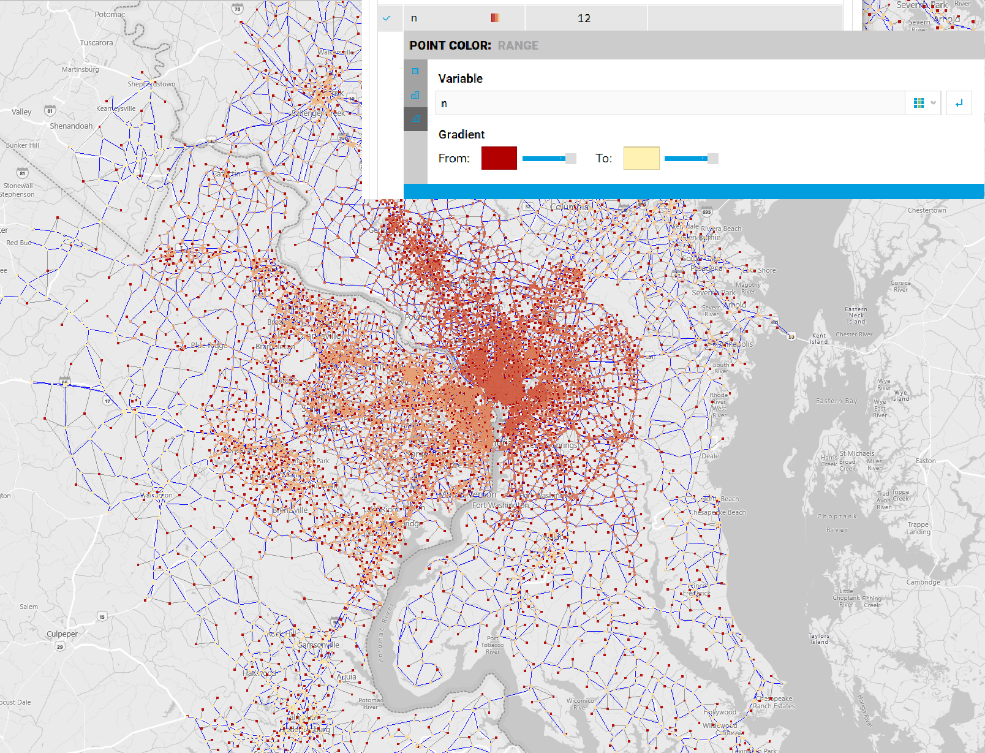
- Range:
Shows the variable specified in the color gradient that has been
selected.
b. Right-click on the Size section to select the point size type, the shape and adjust the node size:
- Simple: (Default) shows all elements in the same size, which can be adjusted using the dragger.
-
Classbreaks: Shows the variable specified in different sizes on the
number of buckets and the classbreaks selected.

- Range:
Shows the variable specified in the size gradient that has been selected.

c. Right-click on the condition section and click on the drop-down to access the layer’s attributes which can be used to set conditions.
2. Click on the Label tab to manage the label settings:
a. Right-click on the Color section to access the label properties
b. Type in the attribute you wish to label or select it from the drop-down
c. Select the Font, Format, Color, Alignment, etc. as desired.
d. Right-click on the size section to adjust the labels size using the dragger
e. Use the condition section to write a condition for displaying the labels.